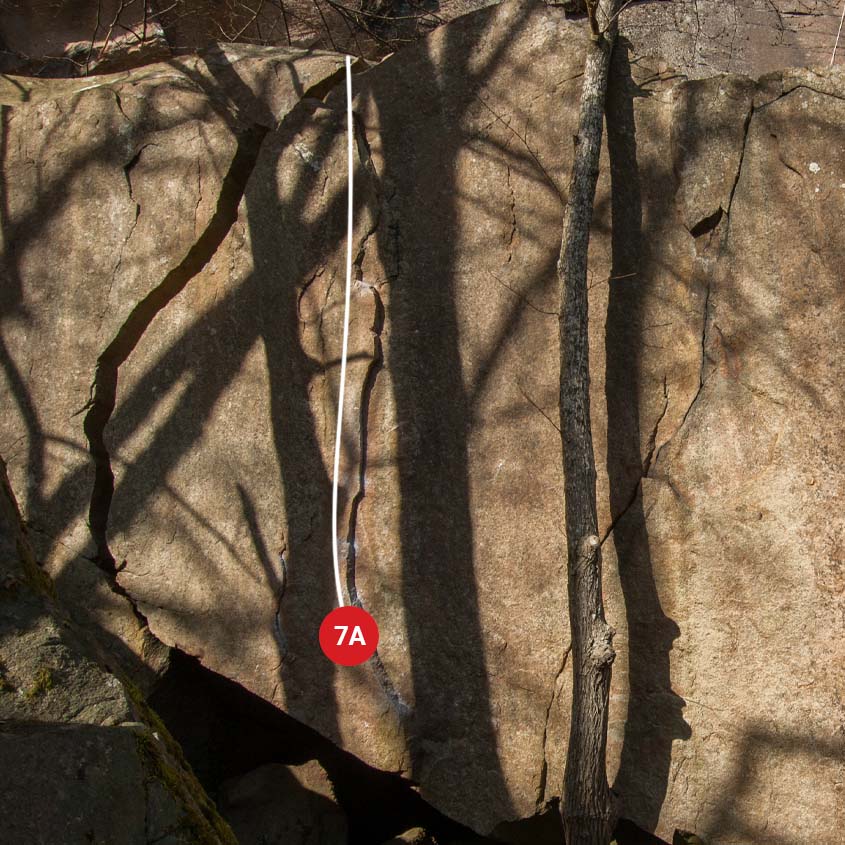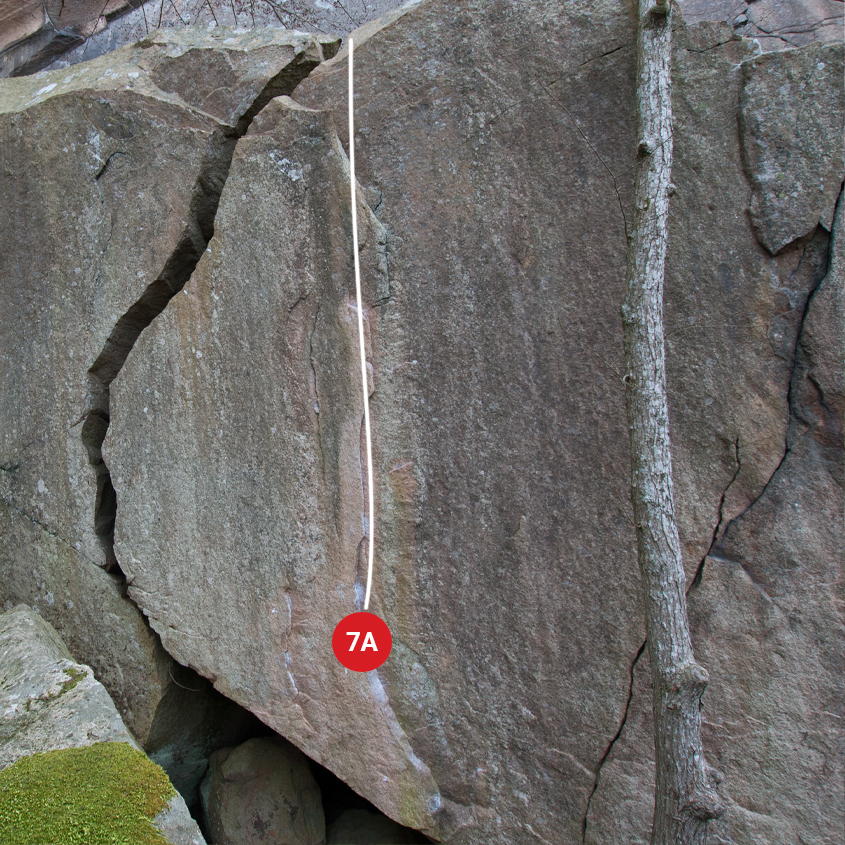
If you want to make a really good bouldering guide you need to take pictures that don’t just show where the boulders are – you want to inspire people to want to come and climb. Here is some advice on how to take great topo pictures for Gryttr.
Clouds are your friends
Most boulders will look better on pictures taken when it’s cloudy (but not too cloudy). The texture of the rock is more visible and trees do not leave shadows on the rock.


Space to crop
This is the hardest thing to remember when taking topo pictures for Gryttr. All topo pictures are square in Gryttr. If you take horizontal pictures of vertical boulders (and vertical pictures of traverses) it will always be possible to crop into a square picture.

One picture per boulder
By concentrating on one boulder problem at a time you can make sure the problem is presented from an optimal angle and in the center of the picture.
Leave some space!
Leave space both below and above the problem you are photographing. It is easy to crop away excess space when creating the topo picture.
Cell phones are fine
A cell phone camera is fine as long as it is light enough. A «real» camera will of course take even better pictures and give you more freedom to adjust lighting and color tones in Phostoshop but don’t let that dissuade you from using your cell phone.
